 by
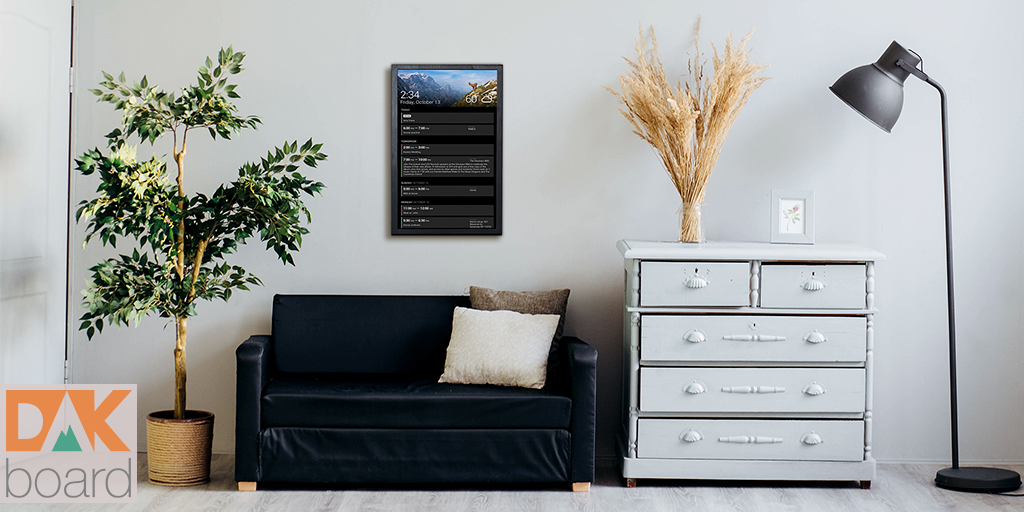
by Follow our instructions to create your own DAKboard on a display of your choosing using a Raspberry Pi!
Not into DIY? Check out the shop to purchase a DAKboard CPU!
Sign up and configure DAKboard
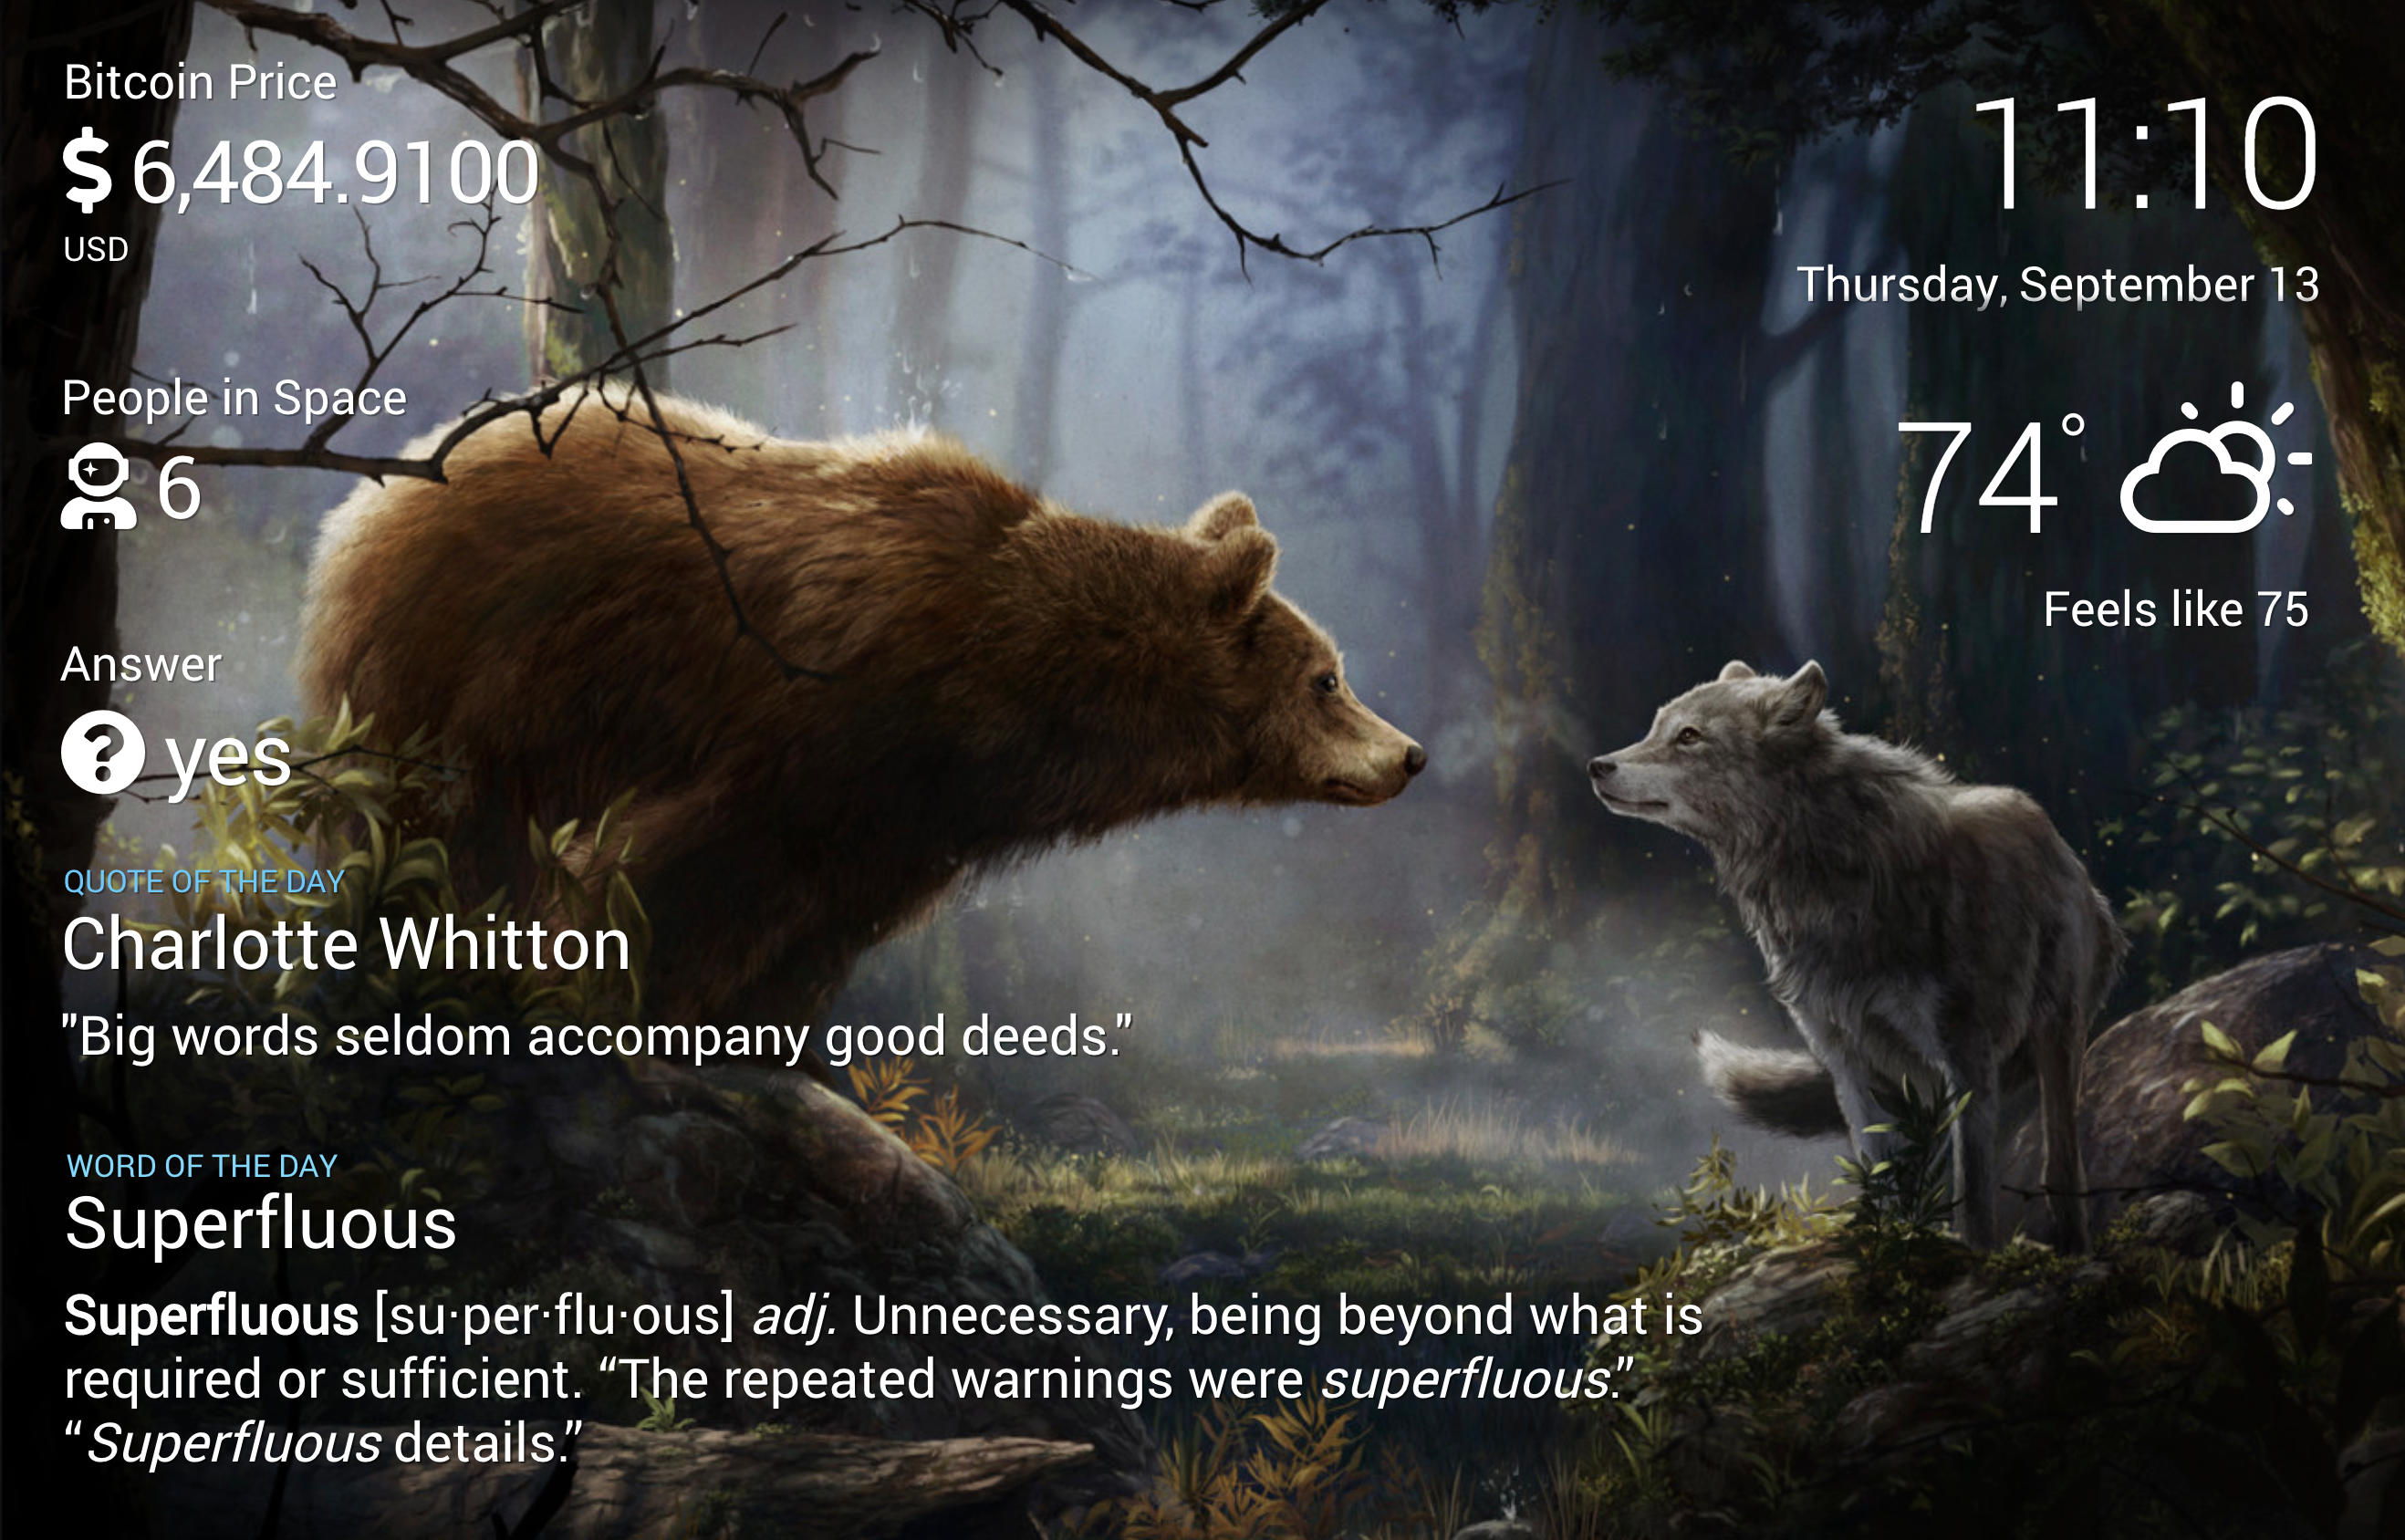
If you haven’t already done so, create an account (free!) and configure DAKboard. You will find plenty of helpful how-to articles in our blog and support site to help you setup your screen just the way you want it!
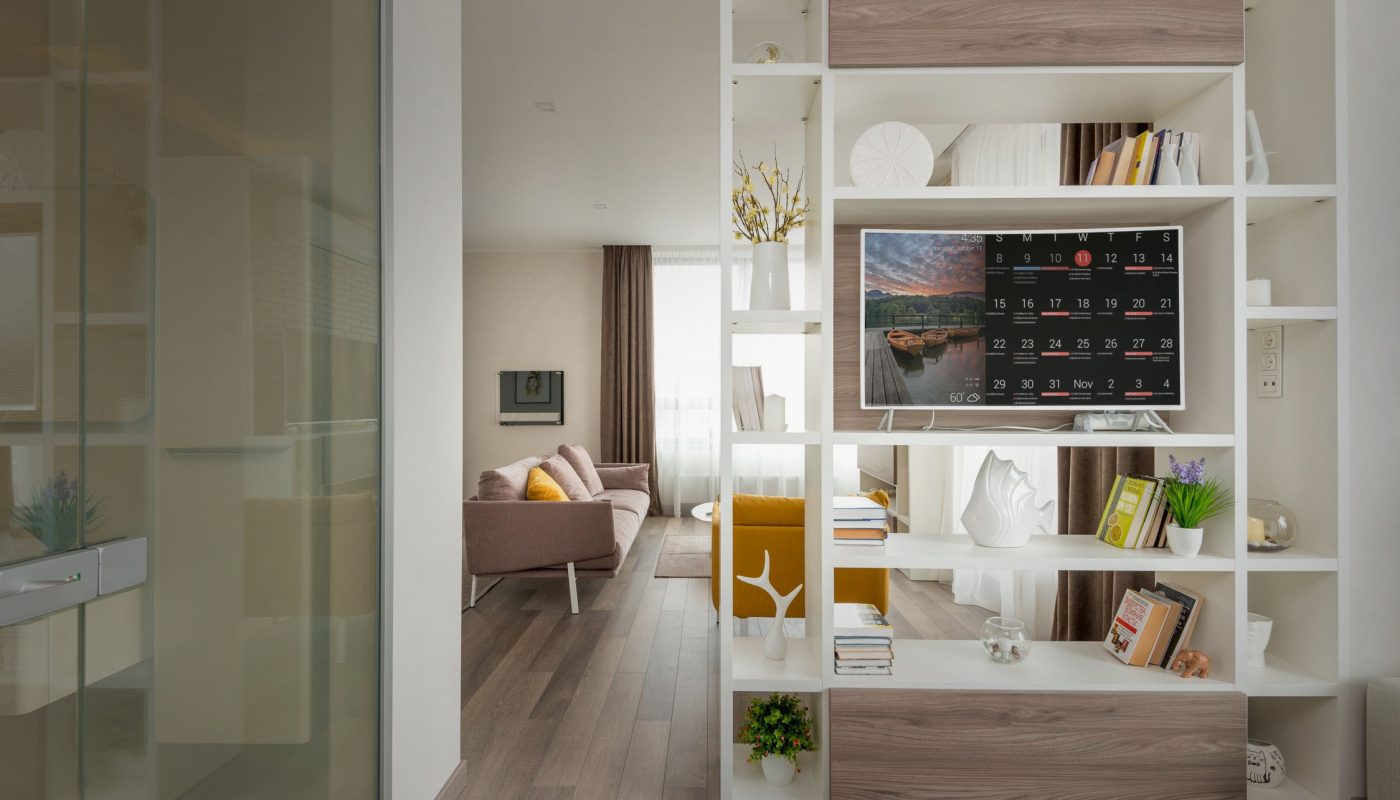
Choosing your Display
The Raspberry Pi needs a display to show your DAKboard screen. Any available HD display that fits the space with an HDMI input is likely up to the job, but there are a few things that can make your experience a bit better with DAKboard that you can look out for.
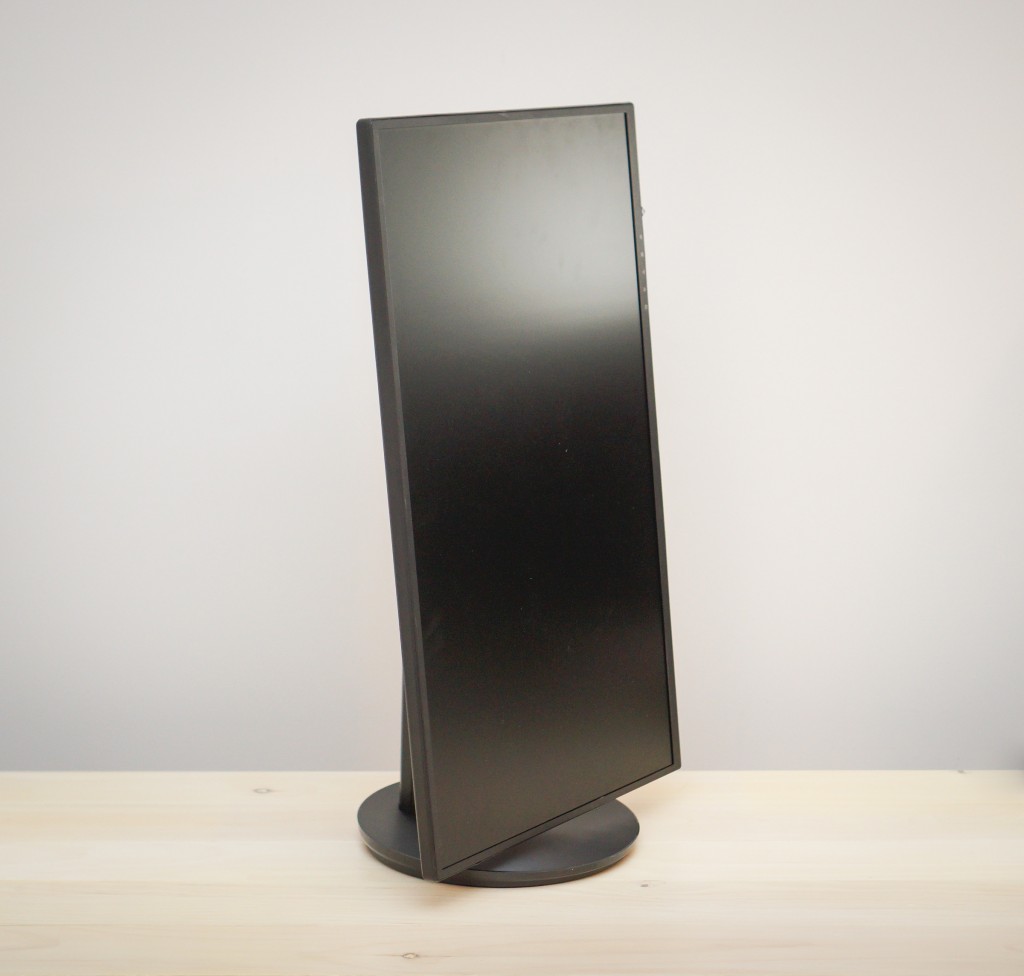
- IPS Displays offer the best viewing angles. This will allow you to see your screen clearly from any angle in the room.
- CEC Technology will allow your Raspberry Pi to turn on and off the display at set intervals, also known as Sleep Schedules. CEC feature is sometimes hard to locate, most monitors include this technology and some TVs do.
Choosing your Pi (Flavor)
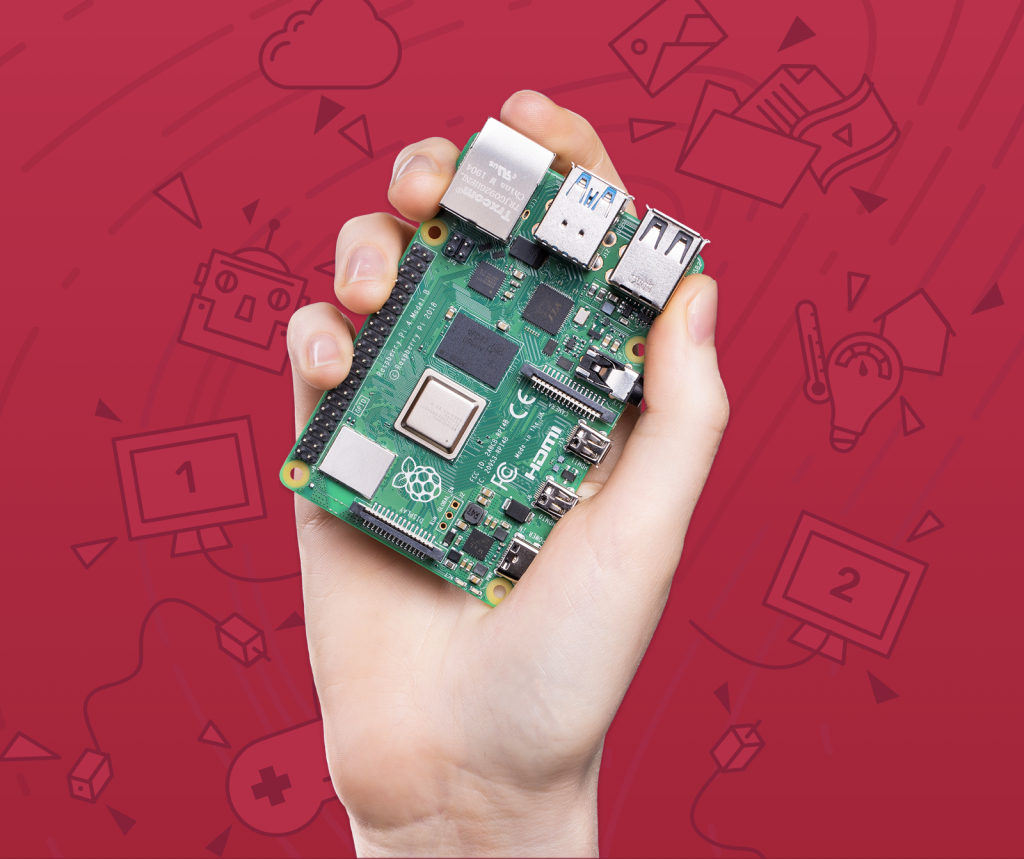
The most critical step will be to choose the right Pi computer. DAKboard OS works best on the Pi3B+ and Pi4B with 2GB or more. The Pi3A may be used for basic configurations, and is not recommended for video due to lower memory. Keep in mind your display’s capabilities(Full HD, 2K, or 4K). Please see the following grid for feature comparison.
| Model | Wifi | Ethernet | HD | 2K/4K | Dual HDMI | Video |
| Pi3A | X | X | ||||
| Pi3B+ | X | X | X | X | ||
| Pi4B (2GB+) | X | X | X | X | X | X |
| Pi Zero 2W | X | X |
Raspberry Pi kits can be purchased from a variety of retailers. You will need a case, a Power Supply, and and HDMI cable for your Raspberry Pi.
Load up your DAKboard OS
Also needed will be a Micro SD card that holds the operating system. We provide DAKboard OS for free to anyone, including instructions on how to install and configure. Your Micro SD card should be 8GB or larger. Alternatively you can purchase a Pre-loaded DAKboard OS from the shop to load into your Raspberry Pi.
Put it all Together
Now that you have your Raspberry Pi, your display, and DAKboard account you can get setup
- If your Pi requires assembly in a case, follow the instructions provided to do so and load in your Preconfigured SD card, or SD card you created.
- Get your display up and running, plug in the HDMI cable and set to the corresponding input.
- Plug the HDMI into the Pi and connect the power cord.
- Get connected to your network and set your orientation and resolution settings on DAKboard by following the video tutorial.
- Enjoy!
We hope you’ll enjoy this latest how-to article. And as always, please feel free to contact us with any comments, problems or questions!